HIGで推奨されているアラートをSwiftで効率的に組み立てる
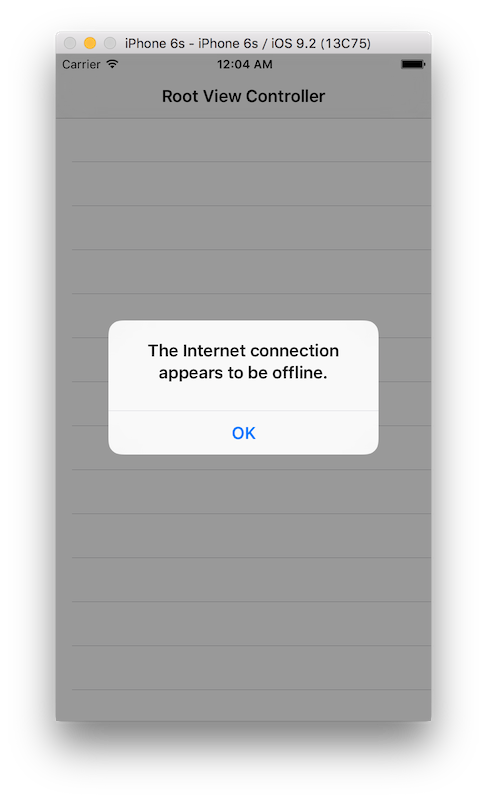
最近、Swiftにおけるエラーハンドリングについて興味をもっている。エラーハンドリングの中でアラートを組み立てて表示するコードをよく書いたり、目にしている。アラートを実装する際に気をつけているのは、ユーザーが目にしたときになるべく怒らせないようにすることだ。 ユーザーフレンドリーなアラートを実装する上で参考にするため、Human Interface Guidelines(以下、HIG)を読んでいる 。HIGを読むと、アラートの実装にあたって問題点が見えてきた。
問題点
-
UIAlertControllerでアラートを組み立てるとき、テンプレのようなコードを長々書かないといけない。 -
UIAlertControllerを使ってHIGで推奨されるアラートを組み立てるには、HIGの理解と注意深い実装が必要になる。
解決策
Swiftの表現力を駆使して、テンプレのようなコードをなるべく排除し、HIGの中で望ましいとされるUIを効率的に組み立てられるような設計を考えた。HIGでは、アラートは1つまたは2つのボタンを持つべきで、ボタンが3つ以上の場合はアクションシートを検討すべきだと書かれている。 アラートを1つのボタンを持つConfirmationと2つのボタンを持つSuggestionという2つのタイプに分類して、以下のようなenumで表現する ことを考えてみた。
enum Alert {
    case Confirmation
    case Suggestion
}
このAlertという型の値からUIAlertControllerを生成する必要がある。 アラートに表示する情報はエラーオブジェクトから取得できると、エラーごとに表示すべき情報が統一されて効率的 だと思う。そこで、以下のようにNSErrorを各caseに関連付け(前回記事を読むとNSErrorではなくFriendlyErrorTypeを使うべき場面だと分かる)、viewControllerというプロパティを定義した。
enum Alert {
    case Confirmation(NSError)
    case Suggestion(NSError)

    var viewController: UIAlertController {
        switch self {
        case .Confirmation(let error):
            let alertController = buildAlertControllerWithError(error)

            let cancel = UIAlertAction(title: "OK", style: .Cancel, handler: nil)
            alertController.addAction(cancel)

            return alertController
        case .Suggestion(let error):
            // 省略
        }
    }
}
ここでのbuildAlertControllerWithError(_:)はNSErrorのもつ各情報を使ってUIAlertControllerを初期化するようなイメージだ。
Suggestionの場合、エラーから復帰するためのアクションをユーザーに提案することになるため、 その「復帰するためのアクション」をRecoveryとして以下のように表現してみる 。
struct Recovery {
    let name: String
    let style: RecoveryStyle
    let recover: UIAlertAction -> Void

    enum RecoveryStyle {
        case Nondestructive
        case Destructive
    }
}
RecoveryStyleは復帰するためのアクションが破壊的(=アクション前に戻せない)か、非破壊的(=アクション前に戻せる)かを表している。なぜこれらを区別するかというと、 HIGでは破壊的なアクションは赤字のタイトルにし、アラートの左側にボタンを置くべきとされている からだ。逆に非破壊的なアクションのためのボタンは右側に置くべきとされている。
Recoveryを踏まえると、Alertの実装は以下のようになる。
enum Alert {
    case Confirmation(NSError)
    case Suggestion(NSError, Recovery)

    var viewController: UIAlertController {
        switch self {
        case .Confirmation(let error):
            // 省略
        case .Suggestion(let error, let recovery):
            let alertController = buildAlertControllerWithError(error)
            let cancel = UIAlertAction(title: "Cancel", style: .Default, handler: nil)

            switch recovery.style {
            case .Nondestructive:
                let recover = UIAlertAction(title: recovery.name, style: .Default, handler: recovery.recover)
                alertController.addAction(cancel)
                alertController.addAction(recover)
            case .Destructive:
                let recover = UIAlertAction(title: recovery.name, style: .Destructive, handler: recovery.recover)
                alertController.addAction(recover)
                alertController.addAction(cancel)
            }

            return alertController
        }
    }
}
RecoveryStyleによってaddActionの順番を変えている。これによってHIGで推奨されているボタンの配置になる。
利用例
let alert = Alert.Confirmation(error)
presentViewController(alert.viewController, animated: true, completion: nil)

let recovery = Alert.Recovery(name: "Recover", style: .Nondestructive) { action in
    print("Recover!!")
}
let alert = Alert.Suggestion(error, recovery)
presentViewController(alert.viewController, animated: true, completion: nil)

let recovery = Alert.Recovery(name: "Recover", style: .Destructive) { action in
    print("Recover!!")
}
let alert = Alert.Suggestion(error, recovery)
presentViewController(alert.viewController, animated: true, completion: nil)

まとめ
- HIGに沿って実装するとユーザーフレンドリーなアラートになる(はず)。
- HIGに沿って実装するのは、HIGの理解と注意深い実装が必要になる。
- 上記のようなSwiftの表現力を駆使した設計によって、効率的にHIGに沿ったユーザーフレンドリーな実装を可能にできる。